How to Make a Hobby Horse (Step-by-Step for Beginners)
Hobby horsing is more than just a game — it’s a creative sport that blends fun, fitness, and imagination. Whether you’re just getting started, or you’ve seen videos of kids jumping with their handmade horses, you might be wondering:
Can I make one myself?
Absolutely — and it’s easier than you think.
In this beginner-friendly guide, I’ll show you how to make a hobby horse at home, using materials you likely already have. No need to buy an expensive one online — your DIY hobby horse will be just as fun, unique, and perfect for practice or competition.
Read More: What is Hobby Horsing? A Beginner’s Guide
Materials You Need to Make a Hobby Horse at Home
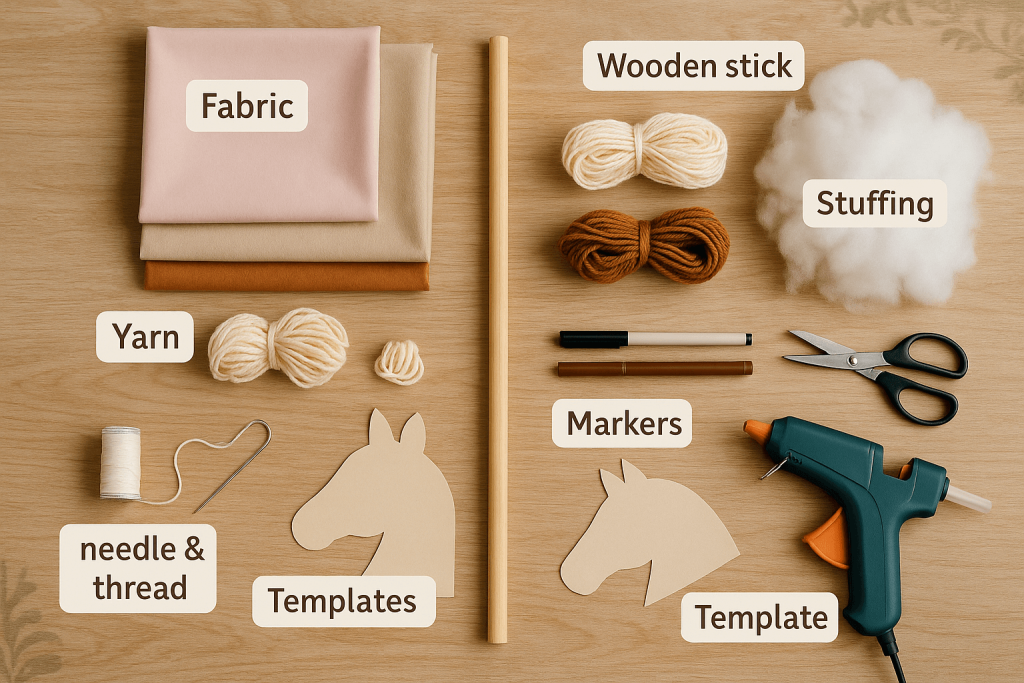
Before we start building, here’s what you’ll need:
| Item | Purpose |
|---|---|
| Fabric (50×50 cm) | For the horse’s head. Use fleece, felt, or cotton. |
| Sewing Kit or Hot Glue Gun | To attach the fabric pieces together. |
| Wooden Stick (40–50 cm) | This becomes the “body” or pole of the horse. |
| Yarn or Wool | Used to create the horse’s mane. You can choose any color. |
| Stuffing (Polyfill or cotton) | To fill the horse’s head and make it soft but firm. |
| Scissors & Marker | To cut and trace your pattern. |
| Pins or Clips | To hold fabric in place while sewing. |
Optional Decorations:
- Buttons for eyes
- Felt for ears or nostrils
- Decorative ribbons or bows
- A name tag or bridle (made of fabric or string)
Step 1 – Cut Out the Head and Ears
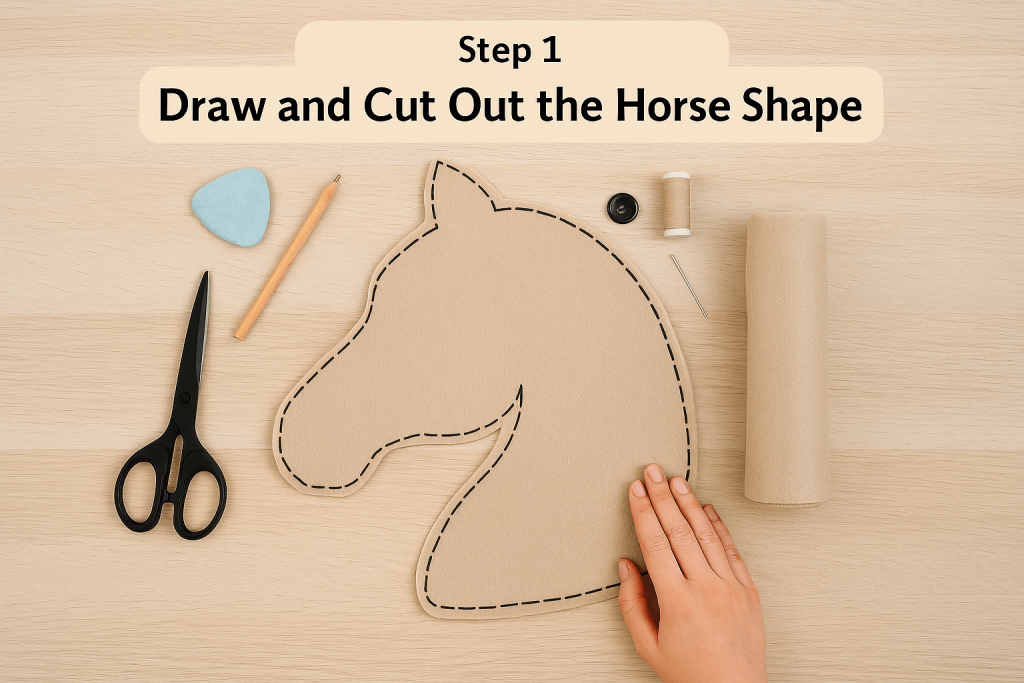
Now let’s start building! First, we’ll create the basic shape of your horse’s head. Think of this like making a soft toy — you’re going to cut out two identical shapes, one for each side of the horse’s face.
- Download or draw a simple horse head pattern.
You can sketch your own or download a printable one (you can download from the net).
- Fold your fabric in half.
This way, when you cut, you’ll get two matching shapes instantly.
- Trace the pattern.
Use a washable marker or chalk to lightly outline the horse head onto your fabric.
- Cut carefully.
Cut through both layers along the outline, making two identical pieces.
- Cut two small ear shapes.
Use the same or a different fabric for a fun contrast.
Step 2 – Sew or Glue the Head Together
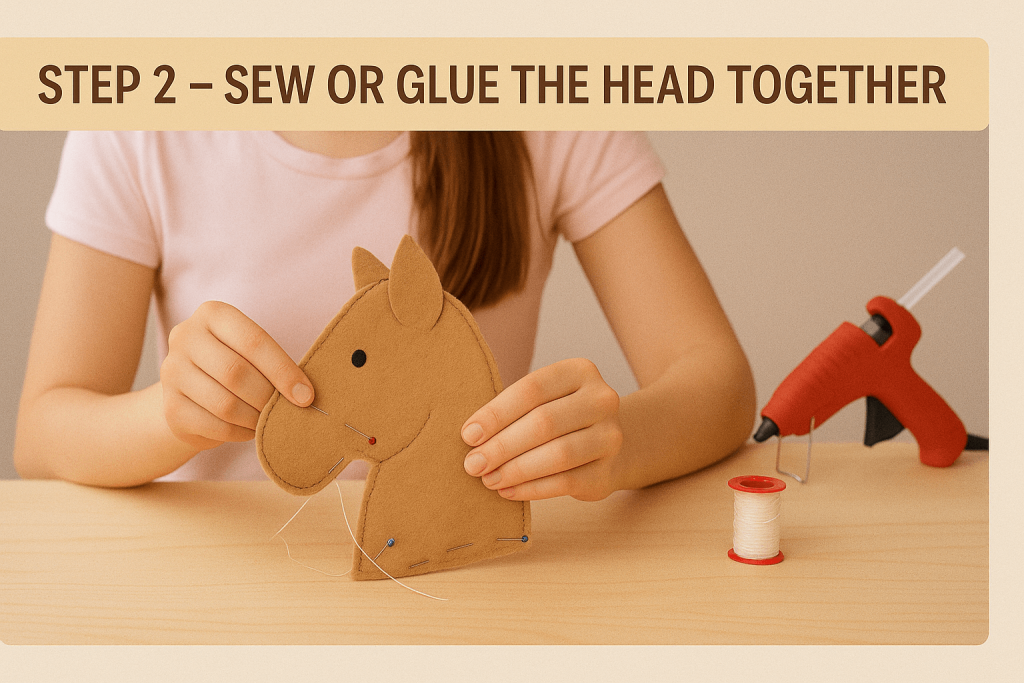
Now it’s time to connect the two sides and bring the horse head to life.
Sewing Method:
- Place both fabric pieces together, with the patterned or “good” sides facing inward (the part that will show once turned inside out).
- Pin around the edges, leaving the bottom (neck) open.
- Use a simple stitch — straight or backstitch — and sew all the way around the edges. Go slowly around curves like the nose or ears.
- Leave a 3–4 cm gap at the bottom for stuffing and the stick.
Hot Glue Method (if you’re not sewing):
- Lay both pieces down just like above (good sides in).
- Run a thin line of glue along the edges — not too close to the edge!
- Press together firmly section by section.
- Let it cool and dry fully before moving on.
Step 3 – Add the Mane and Ears
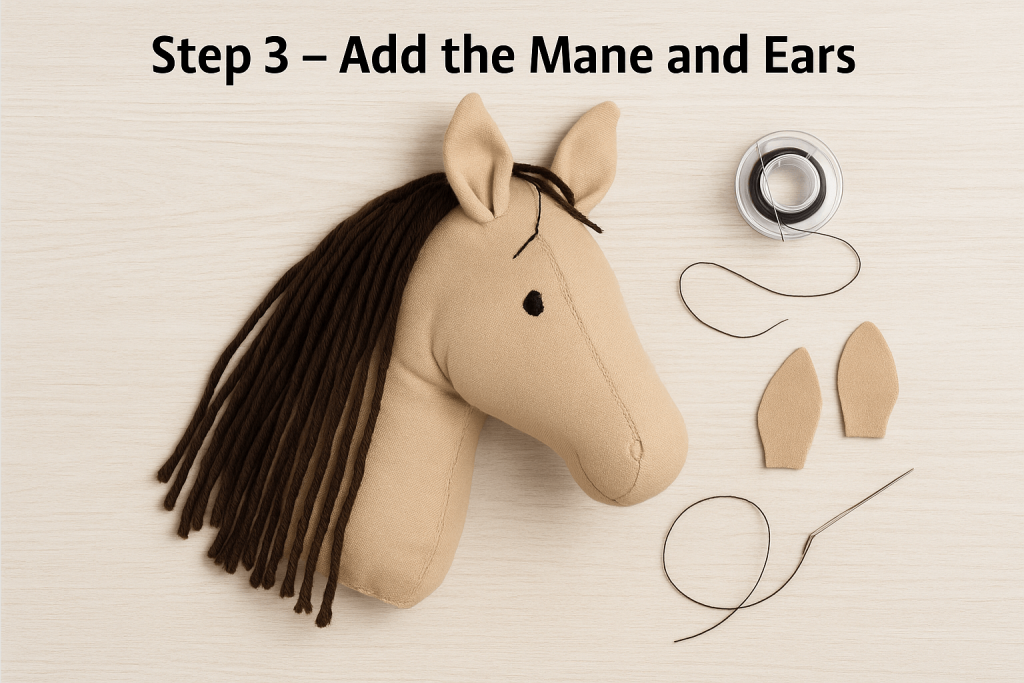
This is the fun, creative part where your horse really gets its style.
For the Mane:
- Cut strands of yarn about 15–20 cm each.
- You’ll need around 30–50 pieces, depending on how thick you want the mane.
- With the horse head still inside out, place yarn strands along the top seam (where the mane should go).
- Pin them in place, then sew or glue the yarn so it’s trapped in the seam.
- When you flip the horse right-side out, the yarn will hang like a real mane!
For the Ears:
- Ears usually go about halfway between the top and eye level.
- Take the two ear shapes and fold the bottom slightly to give them shape.
- Stitch or glue each ear to the sides of the horse head.
Read More: Hobby Horsing Equipment Gear for Beginners
Step 4 – Stuff It and Insert the Stick
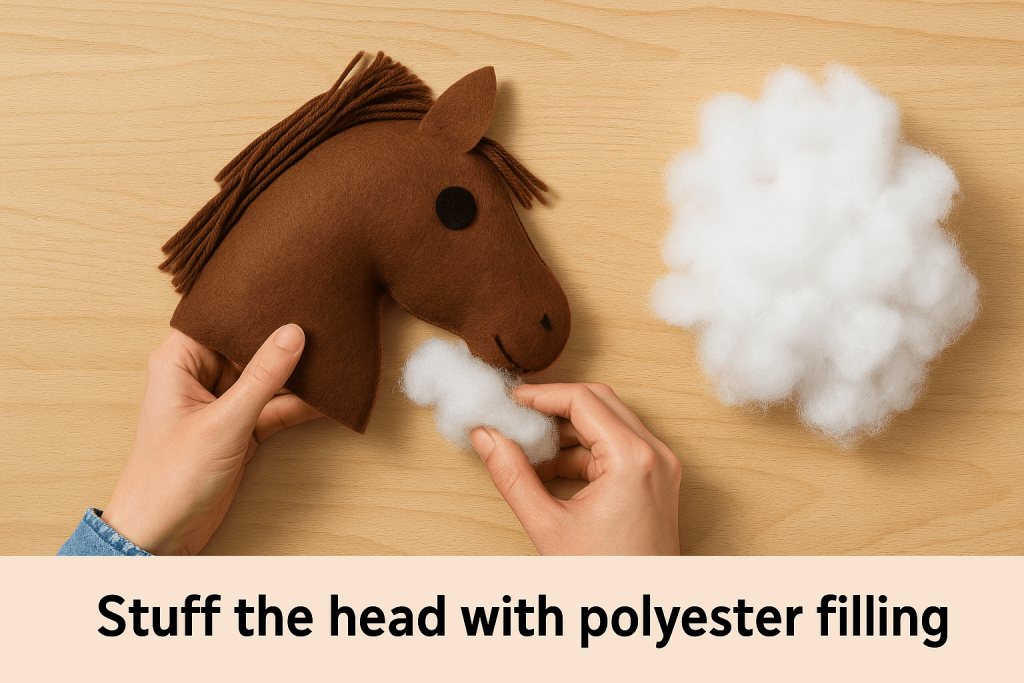
Now let’s make it 3D and sturdy.
Carefully push the head through the opening to flip it right side out. You can use a chopstick or pencil to poke out the nose area fully.
Stuff It:
- Use your fingers to fill the head with stuffing.
- Pack it evenly — not too loose or too tight.
- Shape the nose, cheeks, and neck so it looks natural.
Add the Stick:
- Take a smooth wooden stick and slide it up into the neck opening.
- Push it in deep enough so the head feels secure.
- Fold the fabric around the stick and sew or glue it closed tightly. You can even tie a ribbon around it to make it extra strong.
Step 5 – Add Personality and Style
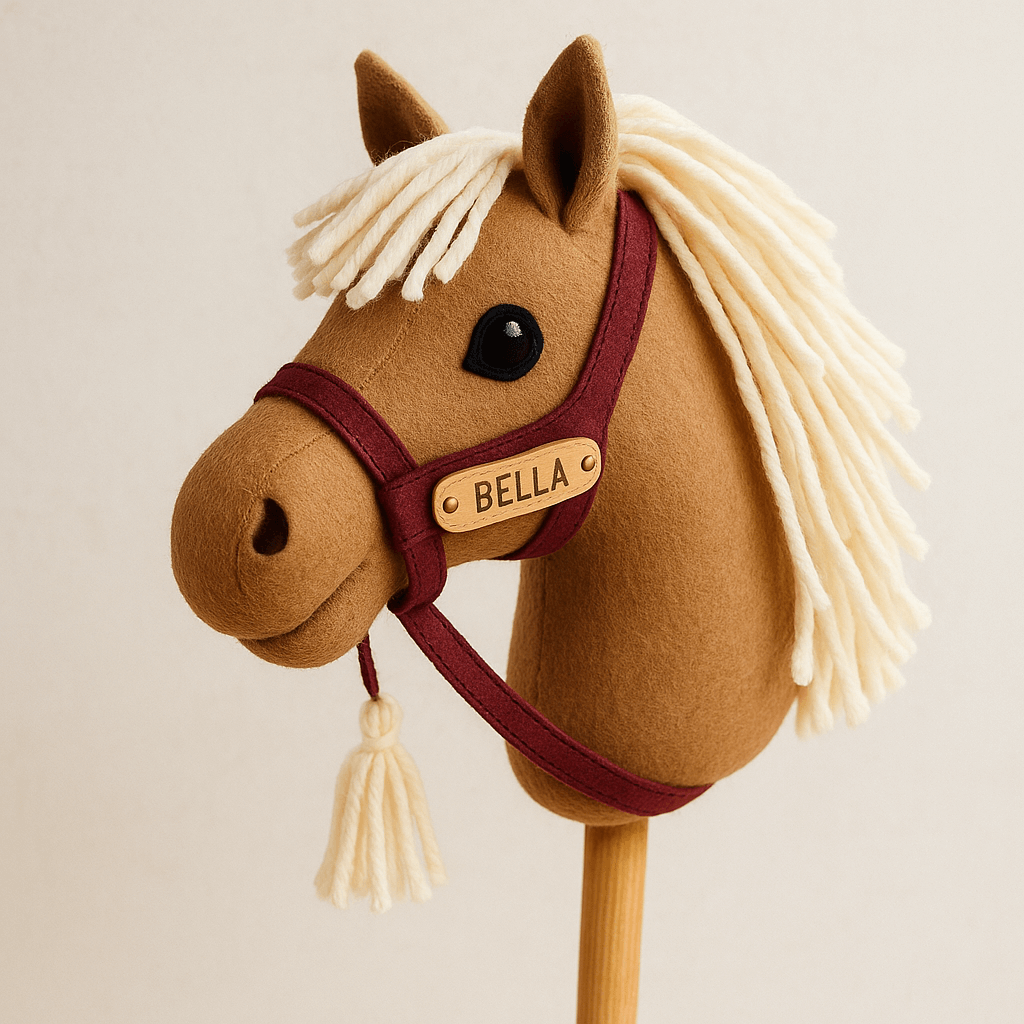
This is where your horse becomes your horse. You can customize your horse the way you want by adding decorative elements and then you can assign a favorite name to your hobby horse. Here are few ideas for customization.
- Eyes: Use buttons, felt, or even googly eyes.
- Nostrils: Draw or stitch little curves near the nose.
- Bridle or Halter: Use thin ribbon or lace to “dress” the horse.
- Name Tag: Make a small tag with your horse’s name — like “Blaze” or “Luna.”
- Extras: Ribbons in the mane, flowers, glitter glue accents.
Congratulations You Made It
That’s it! You’ve turned fabric and yarn into a real, rideable, loveable hobby horse. Now you can:
- Practice tricks and jumps
- Ride around with friends
- Give your horse a name and backstory
- Even start training for your first competition!